How to Repair Antique furniture?
- Michael Varese restores antique furniture for dealers and collectors. By MICHAEL VARESE
Splits in older furniture are not uncommon. One often hears that such faults are a result of lumber being used before it had a chance to season fully or that the piece was poorly made. This is a bit unfair, for no matter the seasoning or soundness of construction, one cannot expect a piece that had stabilized through resting undisturbed for years in a temperate atmosphere to escape unscathed from a season in a new home heated to excessive dryness. Sudden changes and extremes in temperature cause splits.
There are two methods of tackling splits: closing them up or filling them in. In wide areas made up of two or three narrow boards joined together, such as a table top, splitting usually occurs along the lines of the joins and runs straight. The soundest and neatest way to repair such splits is to reglue the boards and clamp them together again. This can be done only if the offending top or side can be removed from its body or at least can be freed to move. If, when this sort of repair is made, a gap is left at one end -say, on one side of a chest - it can be remedied by gluing on a makeup strip. If this is impractical, then the split can be closed by inserting a strip of the same wood and grain pattern.
A more exacting task is called for when a split occurs in a single board. Such a split may run only part of the length, often curving and then ending as if content to stop once the stress of shrinking has been released.
Those splits cannot be glued and clamped together, as this would merely build up stress elsewhere. The gaps are triangular, so before a strip or shim can be inserted, the sides of the split must be made parallel and even along their lengths with a saw.
If this is not feasible, then the repair must be made with a wedgeshaped shim, fashioned to size and glued under pressure. When the glue is dry, any excess wood can be trimmed down and the raw surface stained and polished to blend with the area.
In a repair of this nature, it is essential that the surfaces on both sides of the split remain completely level. It will help if a block is placed across the repair, with a cutout, if necessary, to bridge the strip. The block is clamped down, insuring that when the repair is finished, an even surface remains.
When splits are so fine that even wood the thinness of veneer cannot be inserted, the best remedy is to drip hot wax along the split, shielding the sides with masking tape. That helps keep the sealer from melting the finish.
After cooling, excess wax can be removed and the repair polished over. Under certain circumstances I prefer wax as a filler rather than surfacing putty or plastic wood, both of which are also inclined to shrink over time.
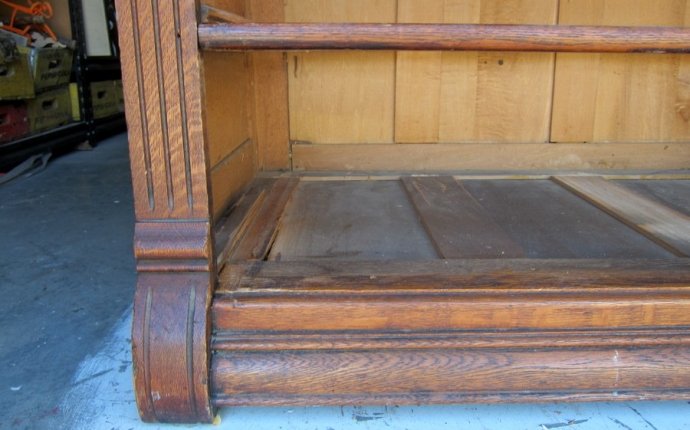
Cabinetmakers were not unmindful of the hazards of shrinking, so the panel method of construction was developed. The panels were merely a filling of wood that fitted into grooves in the framework. The panels were then free to float and shrink within the frames. That is why one can come across a light strip of unfinished wood on a piece of furniture where shrinking has forced it out of its groove.


