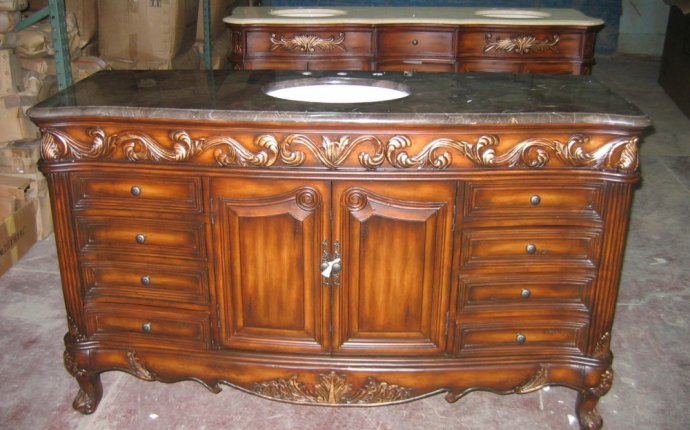
Old Wooden furniture
 I don’t claim to be a handyman (or a handywoman!). However, I sure do love a good DIY project (especially if it saves money)! My fiancé and I are signing a lease on our first apartment soon, and our wedding is coming up in July, so I need to learn how to furnish my home on the cheap.
One of the easiest ways to fill your space is by purchasing secondhand treasures from garage sales, estate sales, and thrift and antique stores. You could even pick up furniture pieces found on a neighbor’s curb. One man’s trash is another man’s treasure, right?
Most of the time, secondhand wooden furniture might need a little refinishing, but there’s nothing like watching the old turn new like the way antique wooden furniture looks after receiving a little TLC.
That said, I spent some time researching the subject, so I thought I’d share with you my step-by-step guide to refinishing wooden furniture.
How to Refinish Furniture
It might seem simple, but refinishing wood requires the proper tools, time and patience to get the job done right. While it’s possible to turn the task into an easy weekend project, make sure you give yourself enough time and space to follow through on all the steps.
The process of refinishing wood includes these steps:
- Removing the old finish
- Filling the grain (optional)
- Applying sanding sealer (optional)
- Staining the wood
- Appling a clear coat
Removing the Old Finish
The first step when refinishing wooden furniture – removing the old finish – is likely the most tiresome and messy. There are two ways to go about this task: chemical stripping and sanding.
Chemical Strippers
Chemical strippers, also known as paint strippers, are the most efficient products for removing paint and varnish from wooden furniture.
Before you begin stripping the old paint and varnish, here are some recommended supplies:
- Rubber gloves
- Eye protection
- Dust mask
- Chemical stripper (look for labels that say “wash away” or “no cleanup”)
- Putty knife or scraper tool
- Steel wool
Be sure you have adequate ventilation in whatever space you’re working in. Chemical strippers are harmful when inhaled.
Also, note that for most purposes, you’ll want a thicker formula, like a gel or paste. Liquid paint strippers will run and can only be used on horizontal surfaces. For smaller projects, an aerosol spray stripper is a quicker and easier alternative.
Follow manufacturer instructions for using the paint stripper, but in general, apply a thick coat of the stripper and wait for the amount of time noted on the container. Remove as much paint and varnish as possible with a putty knife or scraper tool, wiping the blade of your tool between scrapes. Follow up with steel wool for tougher spots if you need to.
Then allow the wood to dry thoroughly before continuing on to the next step.
Sanding
Even after using the chemical stripper, you’ll still need to sand the wood.
While sanding doesn’t emit harmful chemical fumes, make sure you still have enough ventilation in whatever space you’re working in, as it does release dust and debris into the air.
Recommended supplies include:
- Palm sander (80 – 200+ grit sandpaper)
- Sanding block or sandpaper
Always make sure to sand in the same direction as the grain, rather than against the grain. The quality of your final work is really going to depend on how much care you take with this step. Taking enough time to sand the piece thoroughly will make a big difference.
- Use a palm sander (80 – 150 grit) to remove most of the finish
- Repeat this step until you see bare wood
- Use the palm sander (150 – 200+ grit) to get rid of any remaining stain or paint until the whole piece is bare


