Record Player Furniture Antique
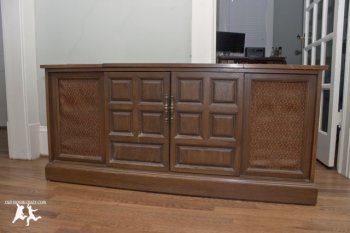 Since the speakers have never really worked reliably and the record player was broken, we pretty much stopped listening to the stereo and it was just taking up space. After a few months, we decided to sell the console in a yard sale.
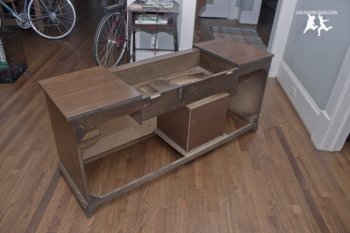
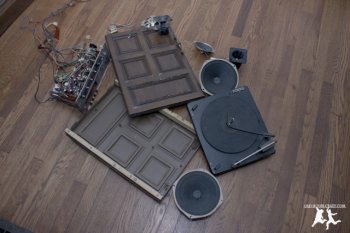
The first step was to remove all of the old hardware and break down the old panels and racks. The next few photos detail that process.
After the old hardware was removed, I had to figure out what new hardware to purchase and how to fit it all into the console. We decided we’d like to have a record player and multiple other inputs so we bought a Yamaha stereo receiver with two sets of speaker outputs. One set would be included within the console. The other we haven’t figured out just yet. At some point in the future, we’re thinking of installing some speakers in the back yard or on the front porch and running wires through the attic and walls to the console. We also decided to include a subwoofer to fill out the sound and shake the floorboards.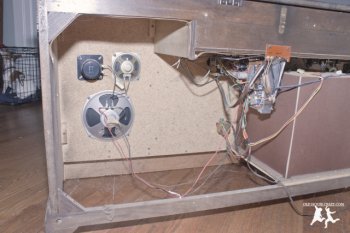 You can see the subwoofer box in the photo below. It turned out to be quite large.
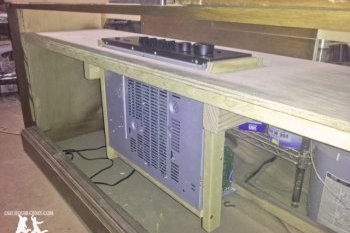
My next challenge was to custom build a rack for the receiver. It was tough because the receiver was designed to sit flat on a shelf and I wanted to hang it vertically. I used scrap wood from the shop along with oak plywood to build the shelf and rack that you see in the photo below. I mounted the receiver without its upper case so that airflow wouldn’t be a problem. Electronics need plenty of airflow and can easily overheat if you don’t give them enough space. That’s why there are lots of holes in your equipment.
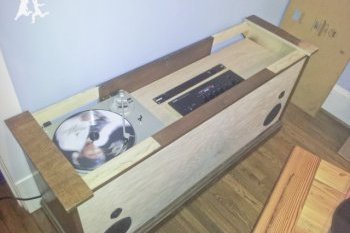
In the photo above, you can also see how I used 1×1 lumber to create a small border around the receiver’s faceplate. This little touch really made a difference in the overall feel of the interface.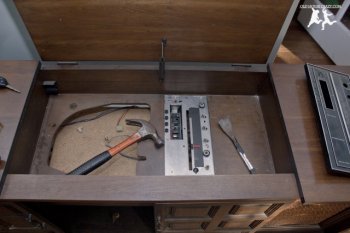 Below, I have the front board and speakers installed, as well as the record player spinning its first record, Michael Jackson’s Thriller. I cut the original upper sections of paneling much shorter so that we could access the new electronics more easily. They used to cover up the entire area above where the record player is sitting, as seen by the lack of dark wood stain.
This last photo of the build shows how I created fake doors for the front of the console. I stained a piece of oak plywood to match the rest of the console, then glued strips of heart pine that were left over from the farmhouse table I built last year. This way, the table and console will be a matched set and tie the dining room together. I also purchased door hardware to match an Amish-built oak server we have in the dining room. The way I cut and placed the paneling on the fake doors also matches the oak server.
Once all of the pieces were constructed, I put it all together and stained it using a light maple stain. This was as close as I could get the new lumber to match the heart pine of the dining table and shelf. It turned out to be a pretty close match. Once it was stained, I put on a coat of wipe-on polyurethane. I still need to apply two more coats. The last extra thing you’ll notice is how I removed the old bottom border and replaced it with an Arts and Crafts style border and lifted the whole console off the floor with four Arts and Crafts furniture legs. The rest of the photos are of the finished product.