Vintage Chest Of Drawers
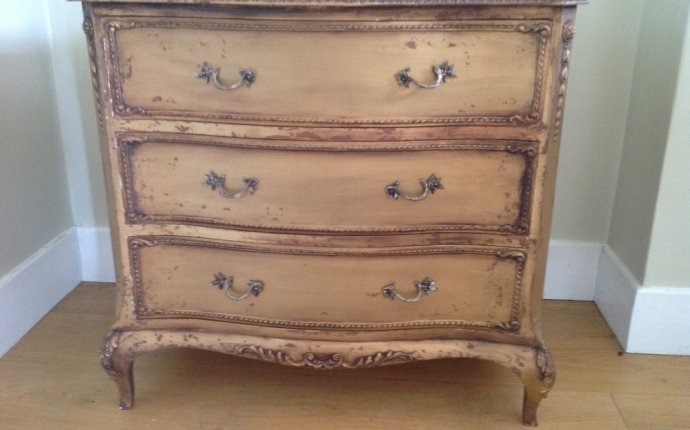
You know the feeling, you’ve discovered a vintage dresser at a garage sale—conveniently wedged between an old garden hose and a few dozen tennis rackets—and to put it simply, you’re in love! The Bombe shape is inspired, it has ornate carvings to spare, and the brass hardware is still capable of dropping jaws. The problem? One too many coats of poorly-applied stain over the years has rendered it the equivalent of a slowly sinking ship.
Yet you know this vintage dresser has potential to be swoon-worthy, not to mention a real team player with your bed and armoire. A coat of paint (or three), and it will be well on its way back to belle of the ball status. It’s an admirable plan, but how exactly do you execute?
To help, we’ve broken down an antique dresser makeover step-by-step—outlining everything from deciding on the perfect dresser to the prepping, painting, and finishing it with the loveliest of details.
PICKING YOUR VINTAGE DRESSER
Whether you already have a secondhand dresser in mind, or you’re starting at ground zero, assessing what you need from a used dresser is an imperative first step. To begin, ask yourself what you’ll be using the dresser’s drawers for. Is your vintage dresser taking the place of an entire closet, or is it simply being used as a cozy nesting spot for sweaters? In either case, look for used dressers with roomy drawers that close with ease (glider drawers can be a heavenly), and stick to a lower profile for easy inventory taking.
On the other hand, if you’ll be storing jewelry or scarves in your used dresser, keep an eye out for a series of compact top drawers. And for stashing other unmentionables? Never underestimate the power of a plain ol’ lingerie chest.
A few other things to consider? Will your vintage dresser be doubling as a TV stand or vanity? If either is a yes, opt for a low profile style versus a highboy. As a rule, horizontal dressers are more accessible than vertical dressers, providing a useable surface height. They also tend to feel more contemporary than vertical dressers, which frequently hark back to more traditional styles like Federal and Chippendale.
COLOR THEORY
Once you’ve decided on your vintage dresser, bring on the color! Deciding on paint color is undoubtedly the most thrilling (not to mention gratifying) part of revamping a dresser, so trust your instincts and spring for that bright kelly green or mauve orchid if that was the color that first jumped to mind when you saw the piece.
For those who find themselves a little less driven by raw feeling, consider some of our favorite style and color pairings:
Bombe Chest: The French overtones of the Bombe chest lend it beautifully to whites, ivories, and creams. If shabby chic isn’t your jam, Bombe chests also look divine in dark stains like walnut or ebony.
Campaign Chest: When it comes to campaign dressers, flat, easy-to-paint surfaces and brass hardware is a given. To play up the brass, we love the thought of cloaking these chests in a solid pastel—think soft mint, pale peach, or a blue-tinged polar white.
Mid-Century Marvel: Mid-Century Modern dressers often showcase raised, flat-panel drawers. The drawers’ dimension makes these dressers a great candidate for trying out a fun gradation pattern. To achieve, grab a color card from your local paint store and a buy all four colors on it (a sample jar is often all you need). Once home, paint your top drawer the lightest color, the second drawer the second lightest, and so on.
THE STEP-BY-STEP
Color cued up? Good. It's time to don those overalls!
- Prep: Remove hardware and sand the piece with a standard sanding block. Worth noting: you needn’t remove all the paint when sanding, just enough to create a rough surface that attracts paint rather than repels it.
- Paint: Despite the urge to roll on paint with a foam roller, we recommend using a brush to best cover details like raised carving reliefs. Use even strokes and let the paint dry between coats! While some professionals swear by chalk paint, we find any standard matte or semi-gloss paint works magic. Once you’re happy with coverage, feel free to apply a coat of polyurethane for extra protection. Oil-based polyurethane offers more durability than water-based, but is more involved to apply (think respirator), so consider what best suits your needs.
- Finishing Touches: Revamp original hardware with a metallic paint or re-attach as-is. Also worth considering? Giving the dresser’s interior a quick spruce. Drawer liner, contact paper, or wallpaper can all be laid down, but we personally love the idea of clipping favorite poems from an old college text (come on, we all have them!), and adhering them with more polyurethane.


