Antique Waterfall Furniture
 This poor thing had seen it's better days. The veneer was peeling and/or missing along the bottom and someone slapped a few coats of red tinted lacquer over the entire piece, yuck. The glass doors are also missing.
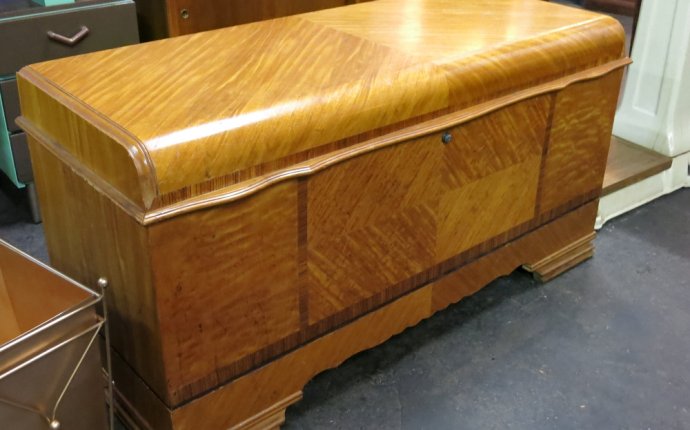
Here is what it looked like before...
See the red tint in the lacquer? Regluing the peeling veneer was an easy fix and the missing veneer was repaired with wood filler. The tinted lacquer, on the other hand, was a HUGE labor intensive challenge to remove.I used my go to Heirloom Furniture Stripper and it took several coats to remove the layers of lacquer enough that I could get rid of the leftover bits with a sander.
I contemplated replacing the glass doors and then for a hot minute I thought about building chicken wire sliders. In the end, I decided the open shelving looked better.
To dress up the back of the hutch I applied paintable wallpaper.
The interior was chalk painted in the color Vanilla Frosting from Country Chic Paint. Because it was hard to get into the nooks and crannies I spray painted it using my HomeRight Finish Max Pro Paint Sprayer.
 I thought about painting it a vibrant pop of color but decided clean white would play better with the dark black exterior and make everything on display pop.
The exterior was brushed with chalk paint in the color Liquorice also from Country Chic Paint. It's the same paint color I used on the Black Old World Map Table shared in last month's challenge. I was really liking how the light wood complimented the black so I lightly distressed this piece to reveal more of the wood underneath.
The grain of the wood on the drawer front and side panels was too pretty to cover with paint so I decided to keep them natural. I applied one coat of Milk Stain by Homestead House Paint Co. in the color Provincial Walnut. I think it compliments the black beautifully. I also stained the bottom door, but it made the hutch look too checkerboardish (new word) and then a light bulb went off in the old noggin. What about creating a stained pattern on a black painted door?
 Sure Marie, what a great idea and how are you going to do that without a Silhouette machine to make a reverse stencil? So I got creative and used what I had on hand.
This isn't a technique I'll repeat anytime soon, but it did the trick. Santa if you're reading this, please pretty please with a cherry on top put a Silhouette Machine under my Christmas Tree this year - I promise I've made your Nice List!
With the door removed from the hutch, I taped a stencil onto the front. In a mini crockpot lined with foil, I melted beeswax. Using a stencil brush, I essentially stenciled with wax rather than paint.
 Once the wax cooled I brushed two coats of black chalk paint over the entire door. After the paint dried overnight I removed the wax with a heat gun on the lowest setting, dabbing the wax off with a lint-free cloth.
To remove the wax from the stencil and stencil brush, I used mineral spirits and then washed both in warm soapy water. It worked but I'm not going to lie, it was a little time-consuming
I lined the drawer with some pretty contact paper that I had in my stash.
The original hardware looked lost against the black so I added some pretty glass jewelry to glam the hutch up a bit.
Again using the HomeRight Finish Max Pro Paint Sprayer the entire piece was sprayed with two coats of Minwax Polycrylic in a matte finish.
The fun part was displaying and storing our antique silver and china in the hutch. Even though it's a small hutch it has loads of storage. Besides it's intended purpose it could be used to store quilts and bedding. It could also be used in an office or craft room.
I'm quite pleased with the transformation, despite it being VERY labor intensive.
I can't wait to see what my talented friends in the Themed Furniture Makeover Day group created for their Storage & Organization piece.
Press the links below to see their makeovers and pin directly from their blogs.


