Pictures of old Chairs
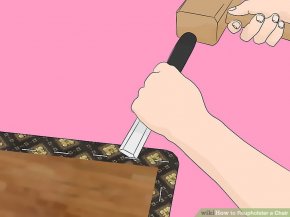
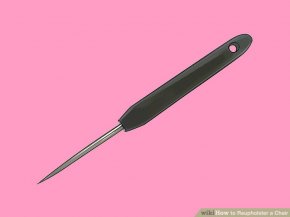
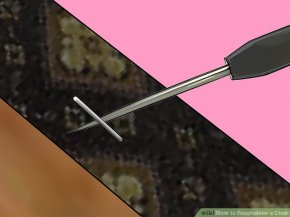
 Place a chisel under the edge of the tack or other fastener.
Tap the end of the chisel with a wooden mallet.
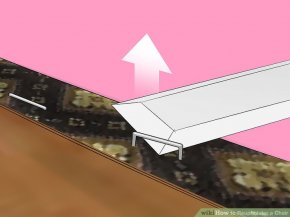
Gently lever the tack (or other fastener) upwards. Do this gently and repetitively until the tack becomes free of the wood.
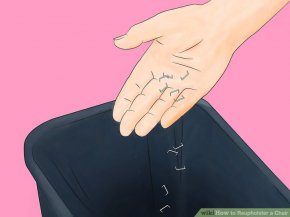
Store the removed tacks in a bag or place straight into the disposal bin. This will avoid accidentally treading on sharp objects.
 Part 2
This section covers large, heavy-duty staples used to keep upholstery in place.
- Use a regulator to remove staples. This is a specialized upholstery tool that removes staples from furniture; these can be purchased online or from specialty stores.
- Slip the end of the regulator under the center of the staple. Lever the regulator upwards, pushing on the edge of the wood.
- If the timber is polished or the area is on view, place a slim piece of aluminum or other metal strip on the fabric and press into that instead of into the wood. This will avoid leaving marks from the pressure of the regulator.
 Wait for one end of the staple to pop out. The other end will stay intact usually.
- Use pincers, pliers or side cutters to grasp the staple. Slightly twist as you pull firmly to remove the whole staple from the wood.
- Continue until all staples are removed. Some people prefer the production line approach of lifting the staples with the regulator first, then going back and plucking out each lifted staple next, to save constant chopping and changing between two different actions.
Part 3
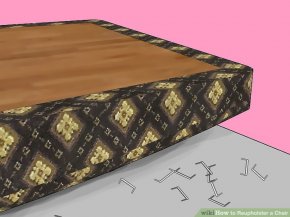
Removing Fabric- Lift the fabric panels off the chair seat, back and arms.
 Once the fasteners have been removed, you can take the old fabric off and use the panels to prepare the new fabric.
 - Mark the removed fabric panels with arrows, letters and any other indicators that will help you draw the same pattern for the new fabric. Don't be lazy here––the effort put in now will pay big dividends in accuracy later.
- It helps to draw a basic sketch of the chair in relation to each fabric panel removed and to note a corresponding letter or number to each fabric piece, written on both the sketch and the fabric piece's backing.
- Note special tucks, pleats, folds, etc. so that you can repeat these when making up the new upholstery fabric.
- As you remove the panels, list their order. This is helpful for adding the fabric panels back on in back-to-front order. Chair panels are usually labeled as follows:
- IB = inside back
- OB = outside back
- IW = inside wing
- OW = outside wing
- IA = inside arm
- OA = outside arm
- S = seat
- SC = seat cushion
- FB = front border
- SB = side border
- AF = arm facing
- SK = skirt
Part 4
Saving the StuffingWhether or not this is worthwhile depends on the condition and age of the stuffing. You'll need to gauge that after seeing it. If you do wish to save here, here is what to do.

Source: www.wikihow.com


